Creating Your First Project with the Wizard
Audience: All new users.
Goal: To guide users through creating a new, AI-populated project using the Project Creation Wizard and a template, which is the fastest way to see the value of CoMng.AI.
Creating Your First Project
Welcome to CoMng.AI! Creating a project is the first step to unlocking the power of AI-driven project management. This guide will walk you through the recommended method for new users: the Project Creation Wizard.
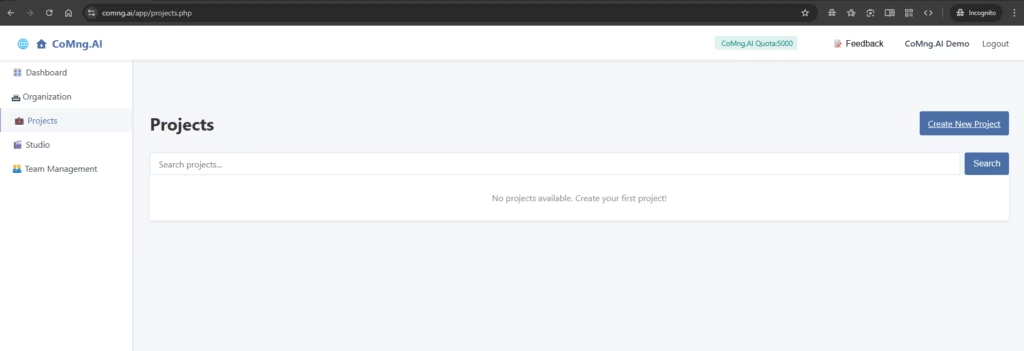
1. Starting a New Project
When you log in and navigate to the “Projects” section from the left-hand menu, you’ll see your projects list. If you’re new, this list will be empty.
- From the “Projects” page, click the blue Create New Project button on the top right.
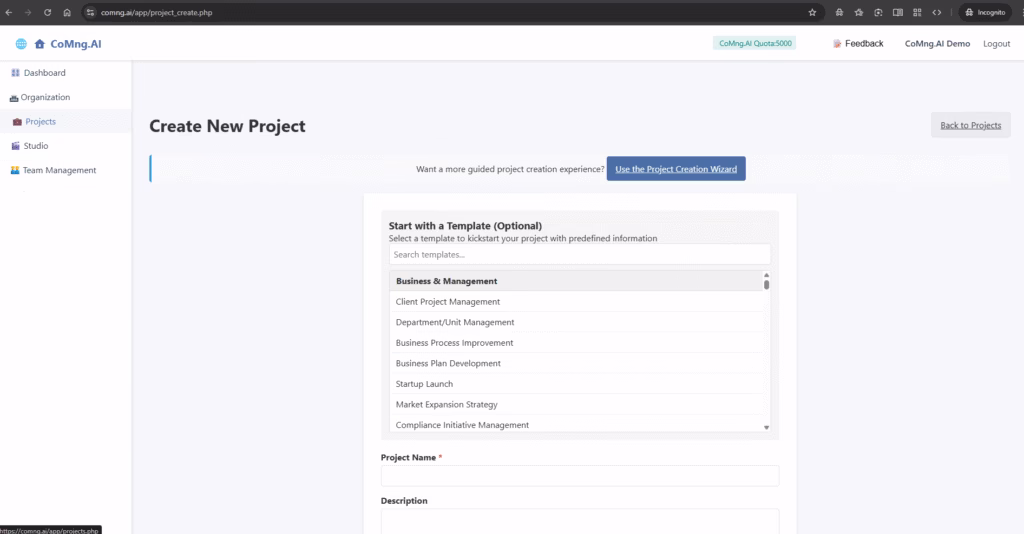
2. Choosing the Project Creation Wizard
If you wish to create a new project without the wizard – click here
You have two main paths to create a project. For a guided, step-by-step experience that ensures you cover all the important details, we strongly recommend using the Wizard.
- On the “Create New Project” page, click the Use the Project Creation Wizard button.
3. Step 1: Defining Your Project Basics
The first step of the Wizard is “Project Basics.” Here, you’ll provide the fundamental information CoMng.AI needs to build your project framework.
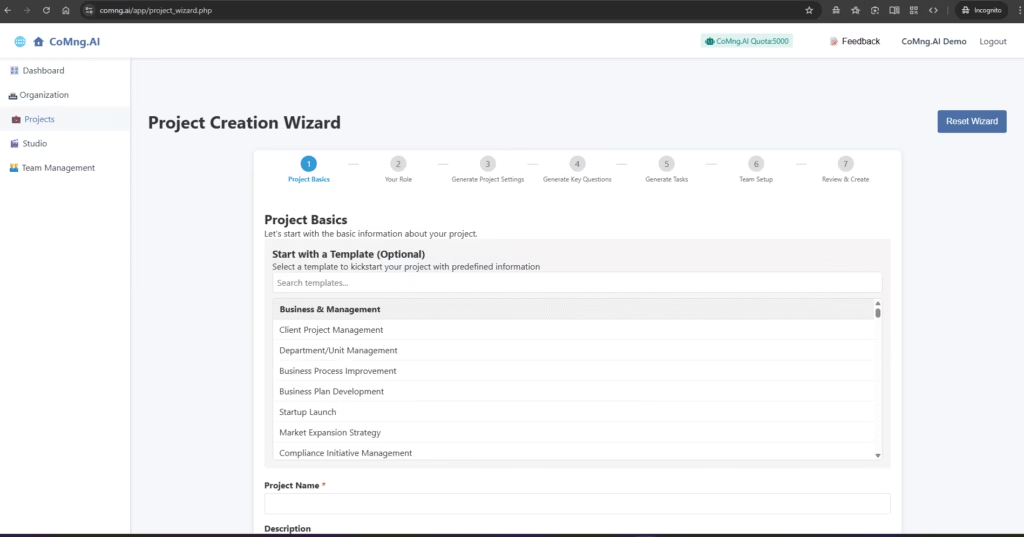
Using a Template (Recommended)
The fastest way to get started is by using a template. CoMng.AI has hundreds of templates across various industries, pre-loaded with expert knowledge.
- Click inside the “Search templates…” box or scroll through the categories.
- Select a category (e.g., “Business & Management”) and then click on a template that matches your needs (e.g., “Startup Launch”).
- When you select a template, CoMng.AI will show you a description. Click the Use This Template button.
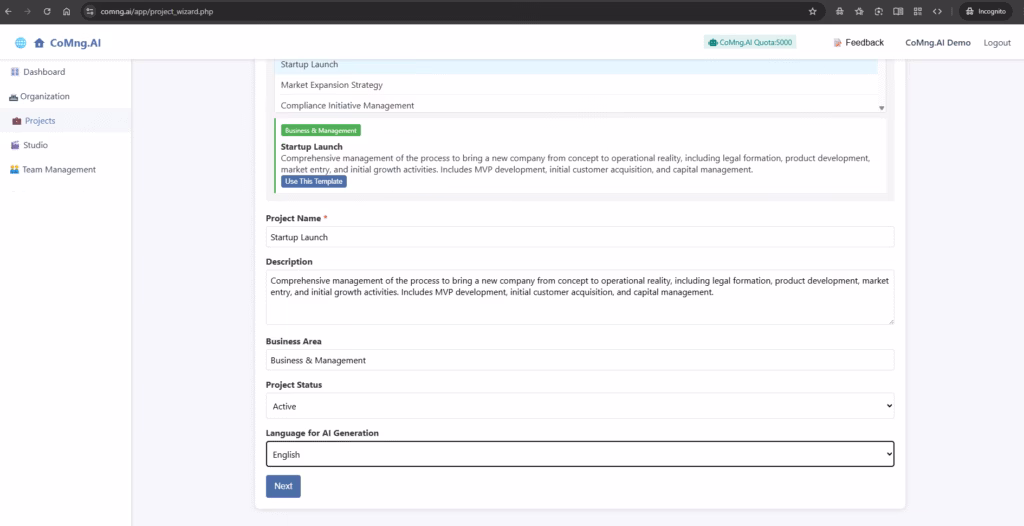
Pro Tip: Notice that selecting a template automatically fills in the Project Name and Description. This is a huge time-saver!
Filling in the Details
Whether you used a template or not, you’ll need to confirm the following fields:
- Project Name: Give your project a clear, concise name.
- Description: This is the most important field! The AI uses this description to generate your tasks, goals, risks, and more.
- If you used a template, read through the description and add specific details about your company, goals, and unique circumstances. The more detail you provide, the better the AI’s output will be.
- Business Area: This helps the AI tailor its suggestions to your industry. The template often fills this for you.
- Project Status: Set the current status of your project (e.g., “Active”).
- Language for AI Generation: Select the primary language you want the AI to use for creating project content.
Once you have filled in all the details, click the Next button at the bottom to proceed to the next step in the Wizard.
4. Step 2: Defining Your Role
This step is crucial for personalizing the AI’s output. By understanding your role and experience, CoMng.AI can tailor its recommendations, task suggestions, and insights to your specific needs and perspective.
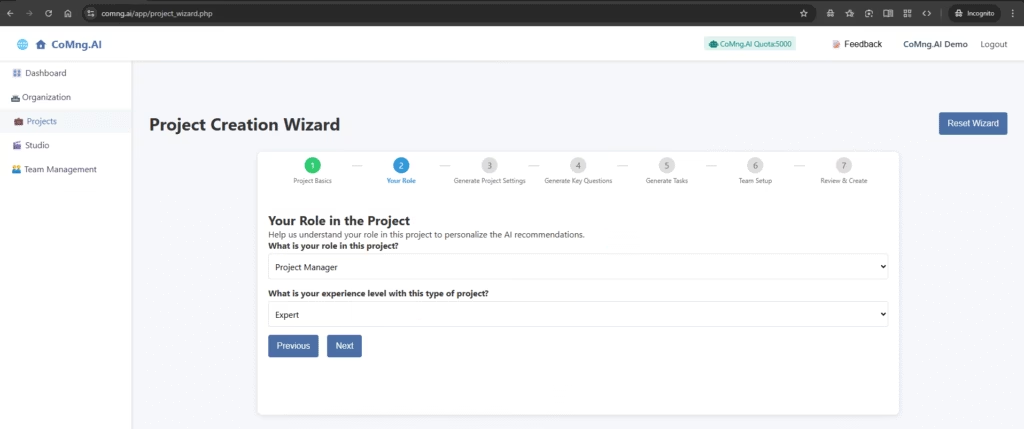
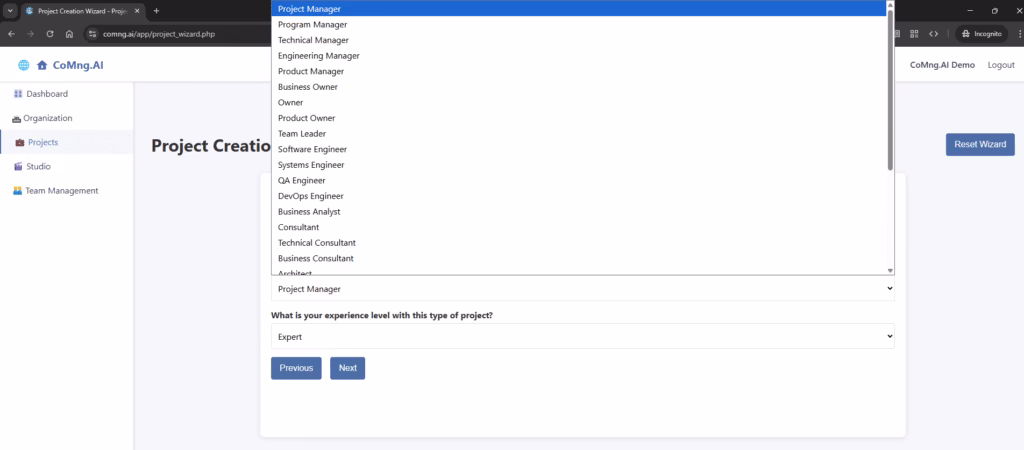
- What is your role in this project?
- Click the dropdown menu and select the title that best describes your position in this project. CoMng.AI offers a comprehensive list, from “Project Manager” to “Technical Consultant” and “Business Owner”
- Why is this important? The AI uses this to frame its advice. A Product Manager might get suggestions related to feature prioritization, while a Marketing Manager would receive marketing-focused task ideas.
- What is your experience level with this type of project?
- Select whether you are a Beginner, Intermediate, or Expert with this specific kind of project.
- Why is this important? This adjusts the depth of guidance you receive. A ‘Beginner’ may get more detailed, step-by-step instructions, while an ‘Expert’ will receive more high-level, strategic recommendations. Be honest with your self-assessment to get the most relevant advice!
- Click Next to have the AI begin the initial project setup.
5. Step 3: Generating Your Project’s Foundation
This is where CoMng.AI’s intelligence shines. Based on all the information you’ve provided (your project description, template, role, and experience level), the AI will now generate the foundational pillars of your project plan.
- On the “Generate Project Settings” screen, simply click the Generate Project Settings button.
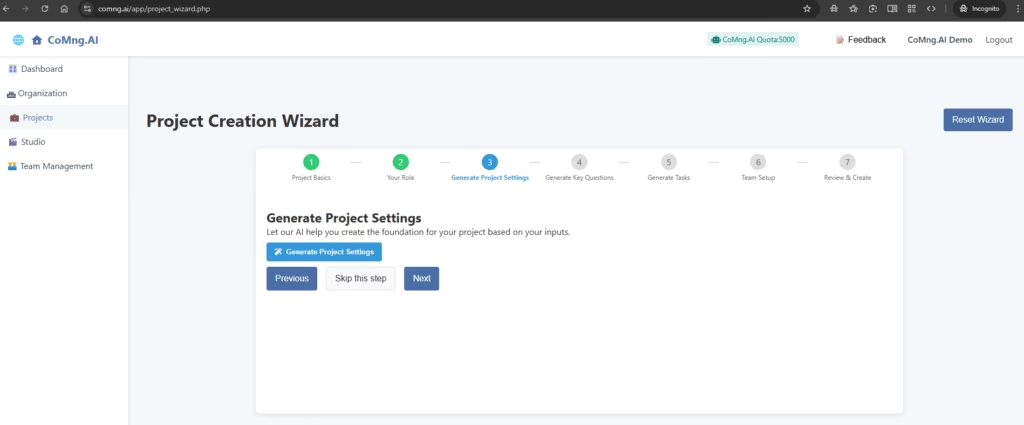
Note: While you can “Skip this step,” we highly recommend completing it. These settings are the bedrock upon which your entire project schedule and task list will be built.
Understanding the AI-Generated Settings
After a few moments, the AI will produce a set of “Generated Settings.” This is your project’s first draft, created in seconds.
[Screenshot 2: The screen showing the populated ‘Generated Settings’ box, including Goals, Success Metrics, Risks, and Milestones.]
Let’s break down what was just created for you:
- Description: A restatement of your project description for context.
- Goals: These are the high-level objectives you aim to achieve. The AI has extracted the primary goals from your project description.
- Success Metrics: How will you know if you’ve succeeded? These are the measurable metrics (Key Performance Indicators or KPIs) that will define success for your project.
- Risks: The AI proactively identifies potential risks based on your project type and industry. This allows you to plan for challenges before they happen.
- Milestones: These are the major phases or significant achievements in your project. The AI suggests a logical sequence of milestones to guide your project timeline.
What to do now?
Once you have reviewed the generated settings, click Next to move forward.
Read through each section. Review the AI’s suggestions. Don’t worry if they aren’t 100% perfect—they are designed to be a comprehensive starting point that you can refine later inside the main project view. The goal here is to save you hours of brainstorming.
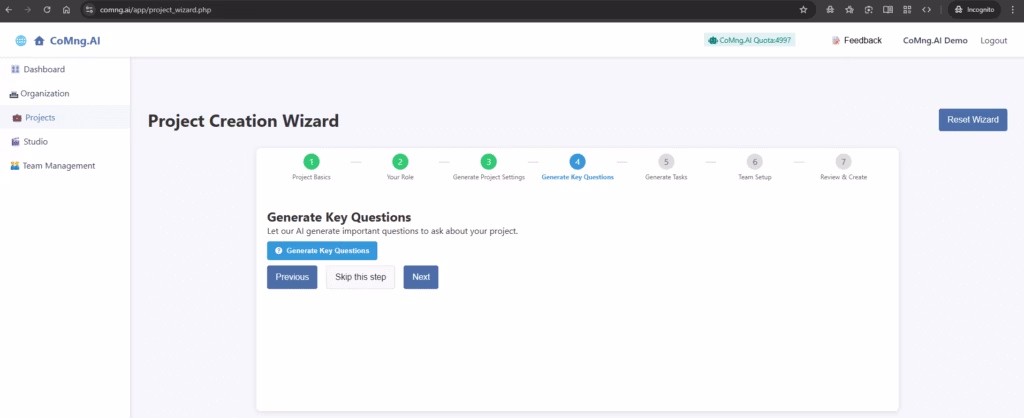
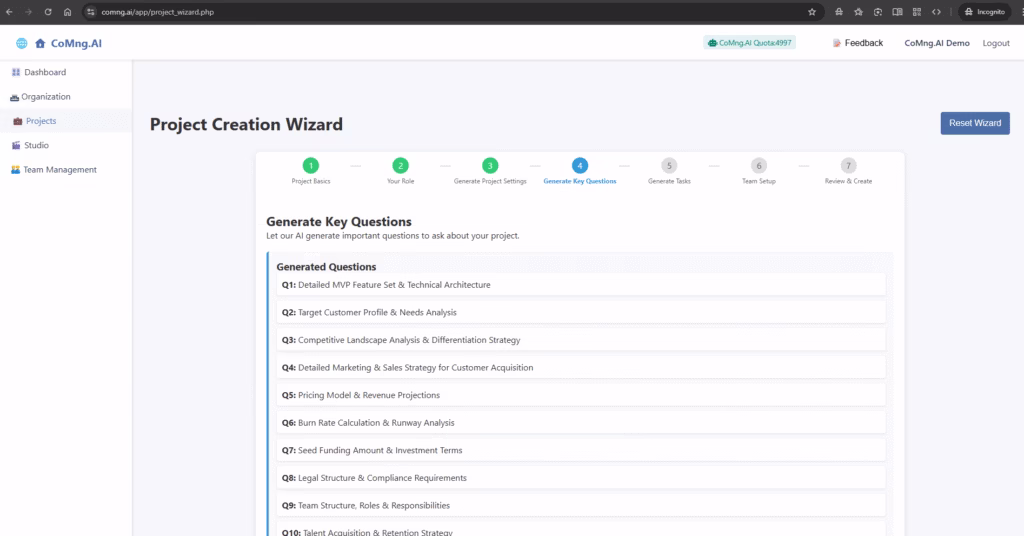
6. Step 4: Generating Key Questions
A successful project isn’t just about having a plan; it’s about asking the right questions. In this step, CoMng.AI acts as an expert consultant, generating a list of critical questions you and your team should consider to ensure all aspects of the project are covered.
- On the “Generate Key Questions” screen, click the Generate Key Questions button.
What are these Key Questions?
After a moment, the AI will present a list of thought-provoking questions tailored to your project. These are not tasks, but strategic prompts designed to spark discussion, uncover hidden requirements, and prevent blind spots.
For a “Startup Launch” project, you might see questions like:
- Q1: Detailed MVP Feature Set & Technical Architecture
- Q2: Target Customer Profile & Needs Analysis
- Q5: Pricing Model & Revenue Projections
Why are these questions valuable?
- Strategic Thinking: They force you to think beyond the immediate to-do list and consider the bigger picture.
- Risk Mitigation: Many questions are designed to address potential risks before they become problems.
- Knowledge Base Foundation: When your project is created, these questions will be automatically saved as notes in your project’s Knowledge Base. You can then use CoMng.AI to explore the answers, assign team members to investigate them, and capture the resulting knowledge for the entire team.
What to do now?
- Review the questions generated by the AI. Think of them as the agenda for your first few project planning meetings.
- You don’t need to answer them now. Simply appreciate the topics the AI has identified as crucial for your success.
- Click Next to proceed to the most anticipated step: generating your initial task list.
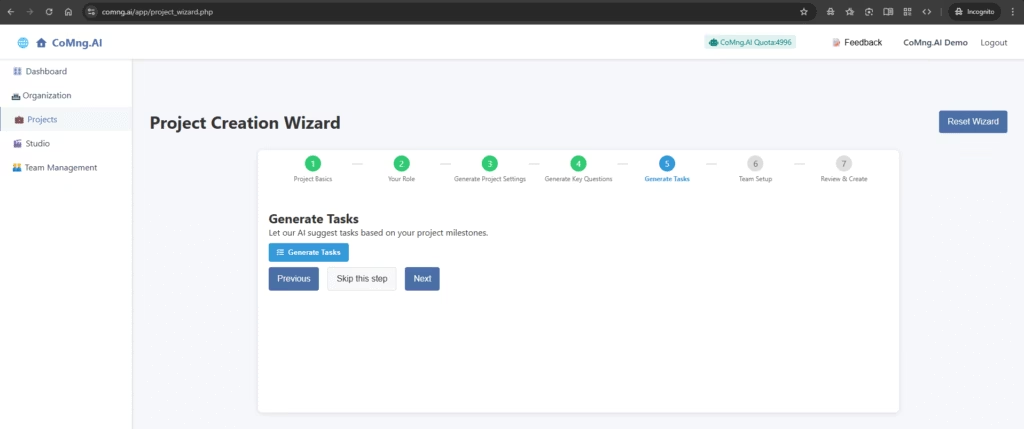
7. Step 5: Generating Your Actionable Task List
This is where your strategic plan transforms into an actionable one. CoMng.AI will now analyze the Milestones it created in Step 3 and break them down into a detailed, sequential list of tasks required to achieve them.
- On the “Generate Tasks” screen, click the blue Generate Tasks button.
Your Instant Work Plan
In moments, the AI will generate a comprehensive list of tasks. This is your initial work plan, taking you from the very first action item (e.g., “Choose Business Structure”) all the way through to the project’s completion.
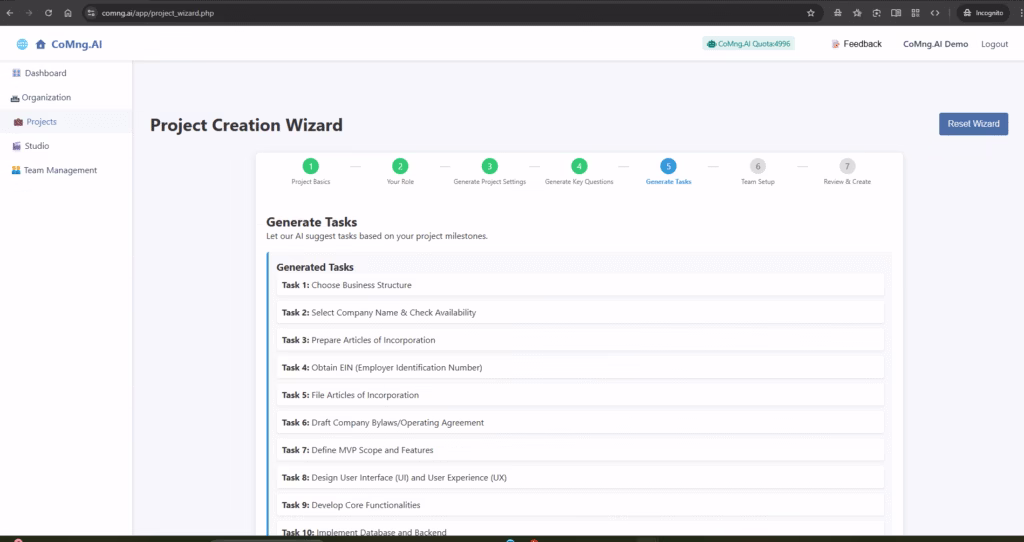
This feature is designed to eliminate the “blank page problem” and save you hours of work. Instead of brainstorming every single step, you get a robust, logically-ordered plan as a starting point.
Please Note: This view only shows the task titles. Once your project is created, each of these tasks will be fully populated with rich details like descriptions, suggested team roles, estimated costs, dependencies, and more. You will have full control to add, edit, and delete any task from the main project interface.
After reviewing the high-level task list, click Next to move on to setting up your project team.
8. Step 6: Setting Up Your Project Team
A project isn’t complete without a team. This step allows you to assign yourself and other key team members to the project from the very beginning.
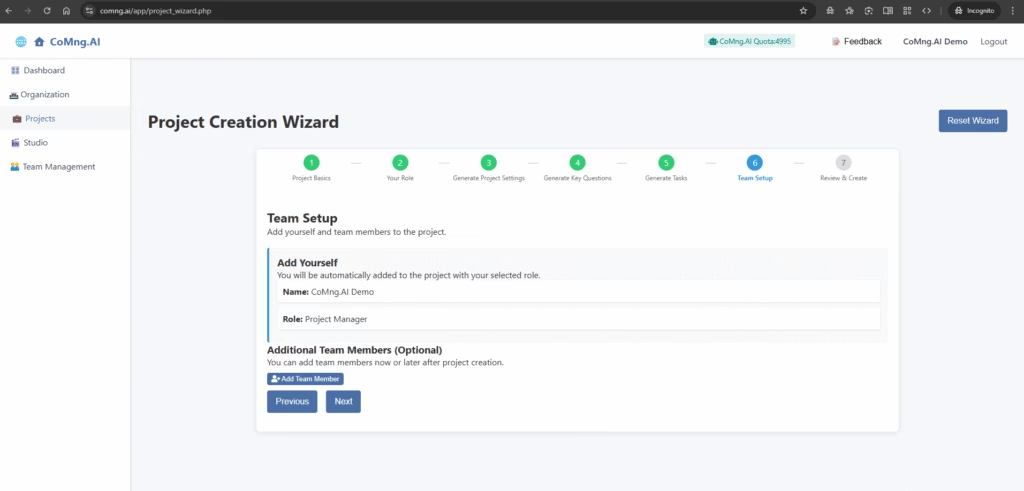
Add Yourself
- Based on the role you selected in Step 2, CoMng.AI automatically adds you to the project. You don’t need to do anything here; your name and project role are already assigned.
Adding Additional Team Members (Optional)
You can get a head start by adding other team members right now.
- Click the Add Team Member button.
- A form will appear with fields to enter the new member’s details.[Screenshot 2: The expanded form for adding a new team member, showing all the input fields.]
- Fill in the relevant information:
- Name (Required): The full name of your team member.
- Role (Required): Their primary role in this project.
- Department: The department they belong to (e.g., Marketing, Engineering).
- Email: Their email address.
- Expertise/Skills: List their key skills and areas of expertise. This helps the AI with future task assignment recommendations.
- Click the blue Add Member button to add them to the list.
- You can repeat this process for as many team members as you need to add at this stage.
Don’t have the full team list yet? No problem. Adding team members here is optional. You can always manage and invite your full team from the “Team Management” section inside the project later.
Once you are ready, click Next to proceed to the final step: reviewing and creating your project.
9. Step 7: Review & Create
This is the final step before CoMng.AI builds your complete, interactive project workspace. The “Review & Create” page consolidates all the information you have provided and all the content the AI has generated into a single view for your final approval.
Your Final Review
Carefully scroll through the entire page to review the details. This is your last chance to use the Previous button to go back and make adjustments within the wizard.
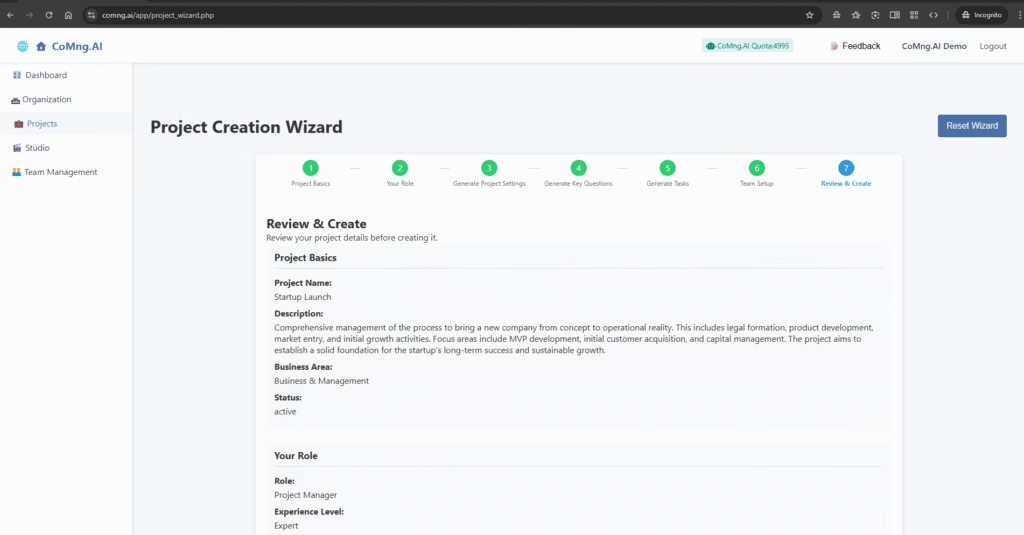
Here’s what you should check in each section:
- Project Basics: Confirm your project’s Name, Description, and Business Area.
- Your Role: Ensure your selected Role and Experience Level are correct.
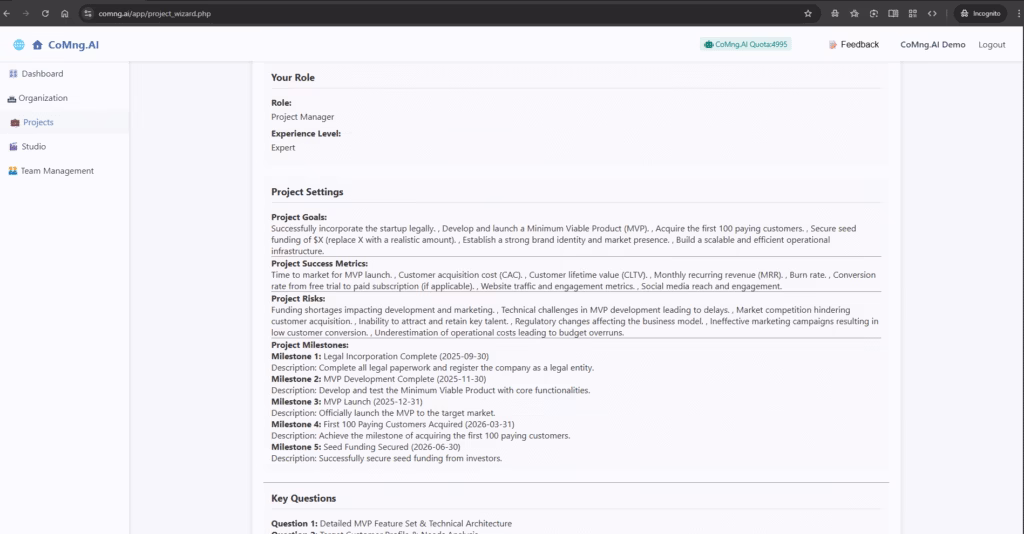
- Project Settings: This is a key section.
- Review the Goals, Success Metrics, and Risks.
- Pay special attention to the Milestones. You will now see that the AI has added detailed descriptions and suggested completion dates, giving you the first look at a potential timeline.
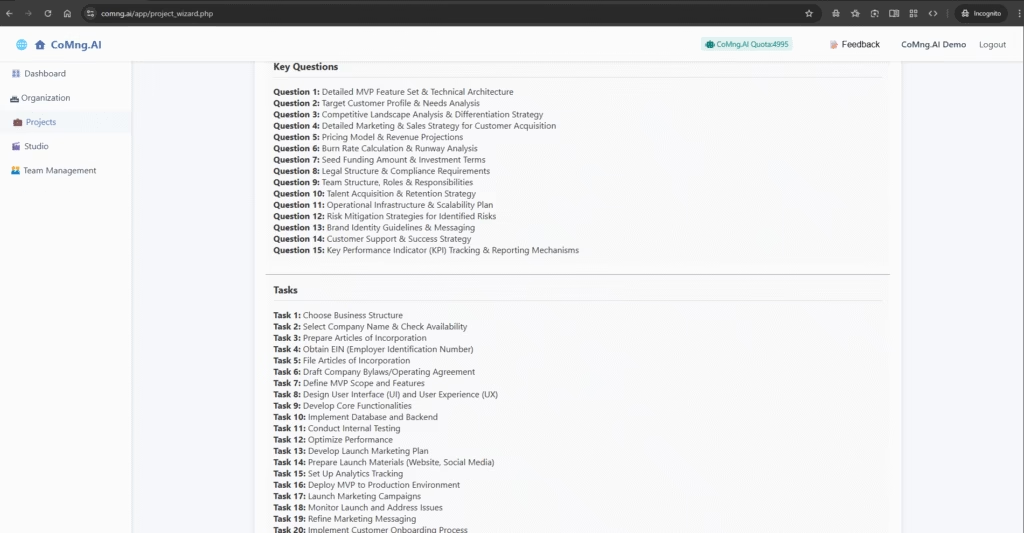
- Key Questions: Remind yourself of the strategic topics the AI wants you to consider. These will be waiting for you in your project’s Knowledge Base.
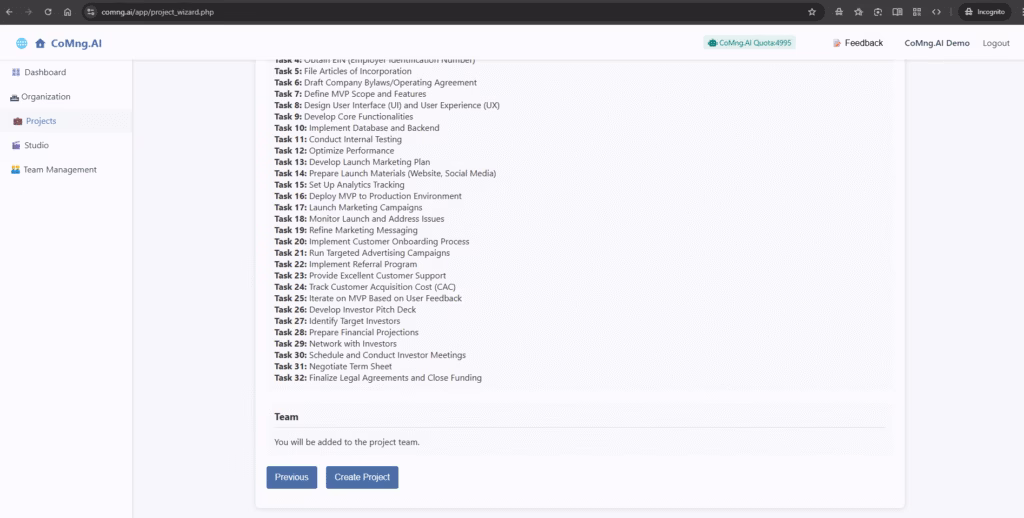
- Tasks: Look over the extensive list of tasks that will populate your task board.
- Team: Confirm that you are correctly listed as the first member of the project team.
Create Your Project!
Once you are satisfied that everything looks right, click the Create Project button at the bottom of the page.
Congratulations! CoMng.AI will now take all of this information and build your project. In a few moments, you will be taken directly to your new, fully-featured Project Overview, ready for you to start managing your work.
Leave a Reply