Using the Project Calendar
Audience: All project members.
Goal: To explain how to navigate the Project Calendar and understand the different types of time-sensitive information it displays.
Using the Project Calendar
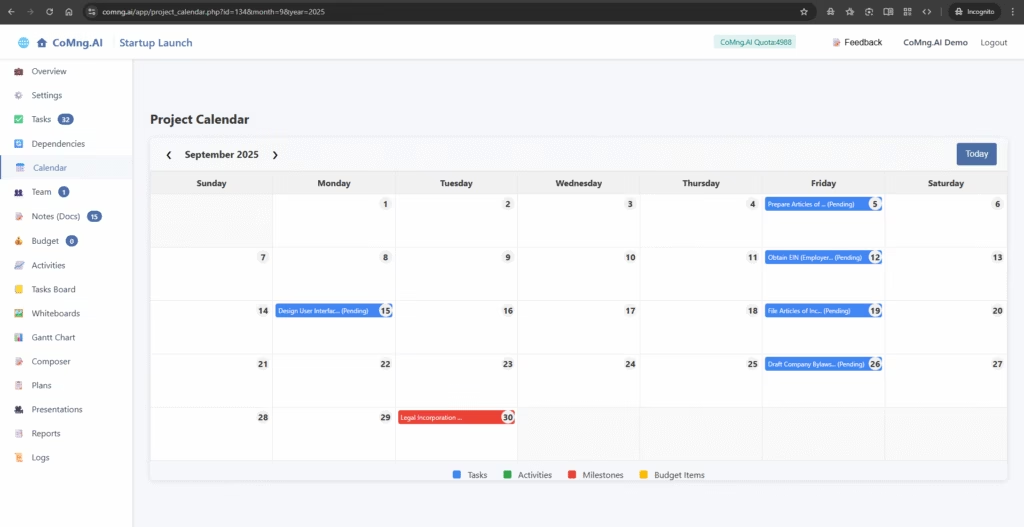
The Project Calendar provides a familiar and intuitive monthly view of all your project’s important dates. It’s the perfect tool to see upcoming deadlines and key events at a glance. To access it, click on Calendar in the left-hand navigation menu.
1. Navigating the Calendar
Controlling the calendar is simple and straightforward.
- Change Month: Use the < and > arrow buttons next to the month’s name (e.g., “September 2025”) to move backward or forward in time.
- Return to Today: No matter how far you navigate, you can instantly jump back to the current month by clicking the Today button on the top right.
2. Understanding Calendar Items
The calendar consolidates various types of time-related information from your entire project. It uses a clear color-coding system to help you distinguish between them. You can always find the legend at the bottom of the calendar page.

Here’s what each color represents:
- Tasks (Blue): These are your project’s work items plotted on their specific due dates. You can also see the task’s current status (e.g., “Pending”) right on the calendar entry.
- Milestones (Red): These represent major project achievements or deadlines, such as “Legal Incorporation Complete.” They stand out in red so you can easily spot your most important target dates.
- Activities (Green): These represent logged time or specific events that have been recorded in the “Activities” section of your project.
- Budget Items (Yellow): These typically represent payment due dates for items in your “Budget” section, helping you stay on top of financial deadlines.
Getting More Details
To learn more about any item on the calendar, simply click on it. This will typically open a pop-up with more details or provide a direct link to that item’s main page elsewhere in the project.
Leave a Reply